Step by Step Guide to Running the Perfect Engraved Paver/Brick Fundraising Project
Share
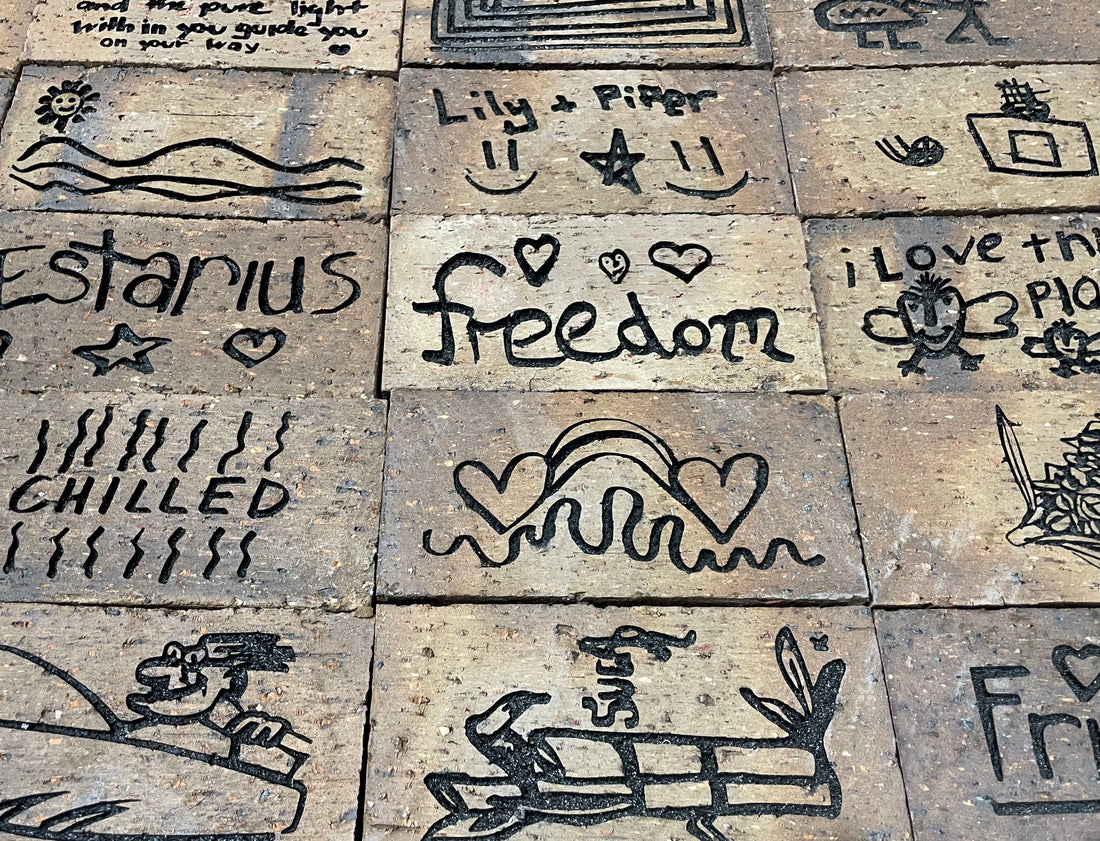
An engraved brick or paver fundraiser is a lasting way to raise funds while creating a meaningful feature at a school or new building project. Donors will love the opportunity to leave their mark on a walkway, wall, or courtyard while supporting your cause. Here’s a step-by-step guide to running a successful campaign.
Step 1: Define Your Goals & Location
Determine how much money you need to raise and where the engraved bricks or pavers will be installed. Consider:
-
The cost per brick or paver and your target profit
-
The number of bricks needed to fill the allocated space
-
The timeline for the project, including installation
Step 2: Choose Your Brick or Paver Style & Engraving Options
Select high-quality, durable bricks or pavers suitable for engraving. Options include:
-
Sandstone or clay bricks for walls or pathways
-
Concrete or granite pavers for courtyards and entrances
-
Engraving styles allowing up to 30 characters per brick for names, messages, or dedications
Step 3: Set Your Pricing
Sell each engraved brick or paver for $100 - $300, depending on the material and size. Offer premium placement options for higher-tier donors.
Step 4: Partner with a Reliable Supplier
Work with an experienced supplier that provides engraving and bulk pricing. Ensure they offer:
-
High-quality materials that withstand weather and wear
-
Clear turnaround times and bulk order discounts
-
Free delivery to a business address for added value
MPD's engraving services can help you set up a landing page and handle payments, making the process seamless. They can be involved as much or as little as needed.
Step 5: Set Up a Sales Platform
Make it easy for supporters to purchase an engraved brick or paver:
-
Online Store: Use Shopify or a dedicated fundraising page
-
Order Forms: Provide printed or digital forms for schools and community groups
-
In-Person Sales: Promote at school events, open days, or community gatherings
Step 6: Promote Your Fundraiser
Maximise engagement using:
-
Social Media & School Newsletters: Share updates and testimonials
-
Community Meetings & Building Announcements: Present the project vision
-
Local Businesses & Alumni Networks: Encourage sponsorship and bulk purchases
Step 7: Manage Orders & Payments
Track orders carefully to ensure accurate engravings. Offer multiple payment options like credit card, PayPal, or direct deposit.
Step 8: Installation & Unveiling
Once the bricks or pavers are engraved:
-
Coordinate with builders or landscapers for installation
-
Plan a dedication ceremony to unveil the project
-
Send updates to donors with photos and thank-you messages
Step 9: Show Appreciation & Keep the Campaign Open
After the initial fundraiser, continue offering engraved bricks for future donors. Recognise supporters with:
-
A commemorative plaque or donor list
-
Social media shout-outs and event invitations
Start Your Engraved Brick & Paver Fundraiser Today!
A brick or paver fundraiser is a long-lasting tribute and a strong fundraising tool for schools and new buildings in NSW. Follow these steps to create a successful campaign that leaves a lasting legacy.